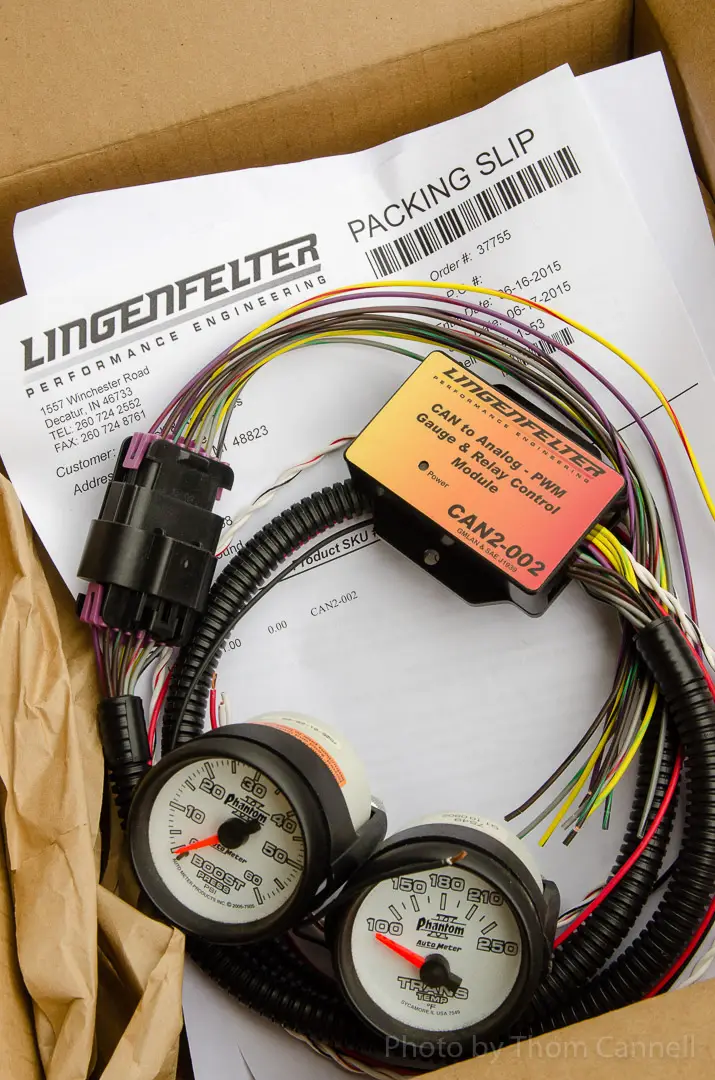
“Everything you need is in the box,” the saying goes, and Lingenfelter’s Controller Area Network (CAN) bus tool proves it true. The Lingenfelter CAN2 -002 is a universal device able to run dozens of different devices, like tachs and speedometers that need a frequency signal, other gauges—oil, water, transmission—that are resistance-based. That means you need to teach the box its job, which means a bit of Windows programming (it’s teaching the box what it needs to know, not coding) to provide specific operating directions. So, if you’re good with computers go ahead.
Installing The Lingenfelter CAN2
Not so good, but good with wiring? Have Lingenfelter preprogram your install. Neither? Have a good shop get you hooked up and happy.
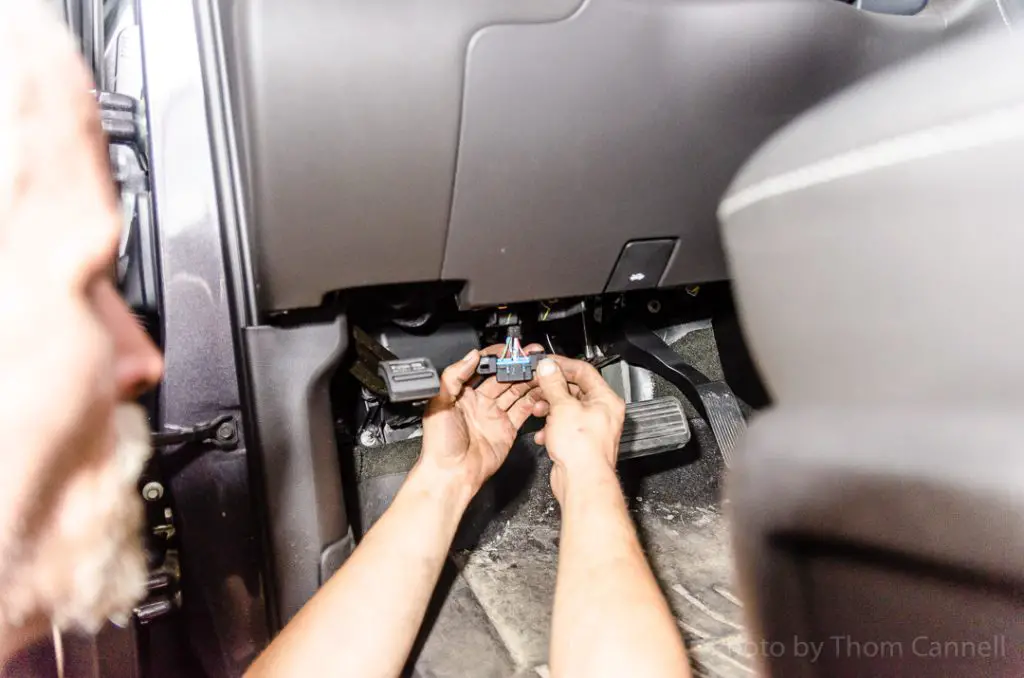
After removing the ALDL connector (in this case a 2015 GMC pickup) by removing two 7 mm bolts, insert the power and ground leads and CAN+ and CAN- wires into the ALDL. Remove the pins, splice in the wires.
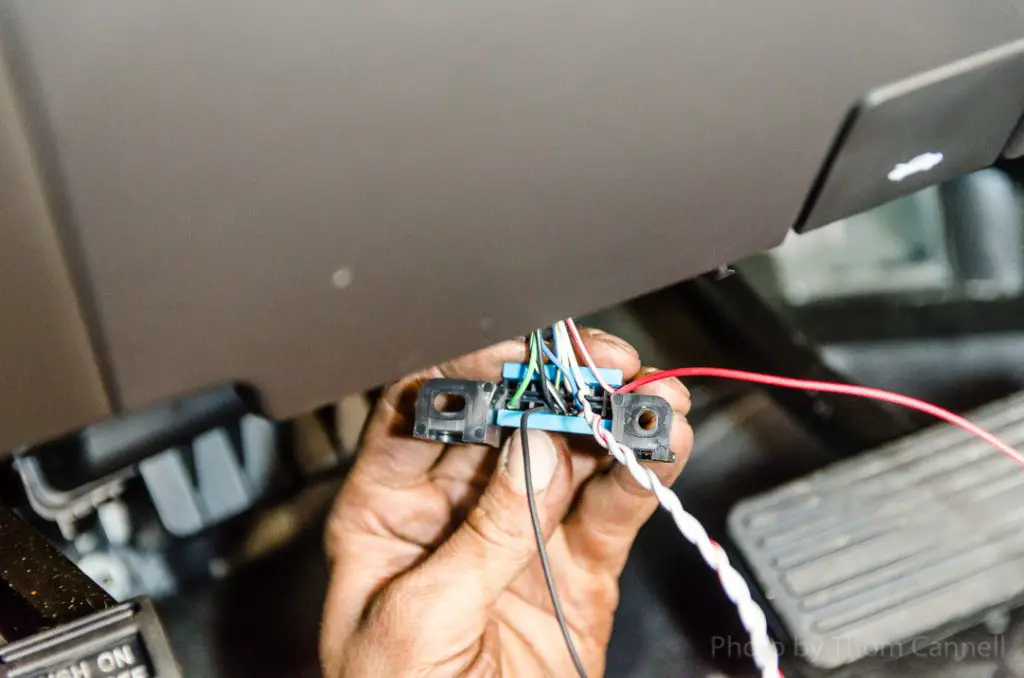
Daryl DeLaere, shop manager, connected the red 12V+ wire to pin 16 and the ground /black to #4, or you could use a chassis ground if convenient. CAN + (white with red tracer) is on 6 while CAN- (white with black tracer) is on 14. You must connect the wiring correctly. We soldered and reinstalled. You’ll want to zip tie the new wire bundle to the original wires to prevent any stress. It’s a good idea to double check the power, which Daryl does on every install, and he also checks the grounding.
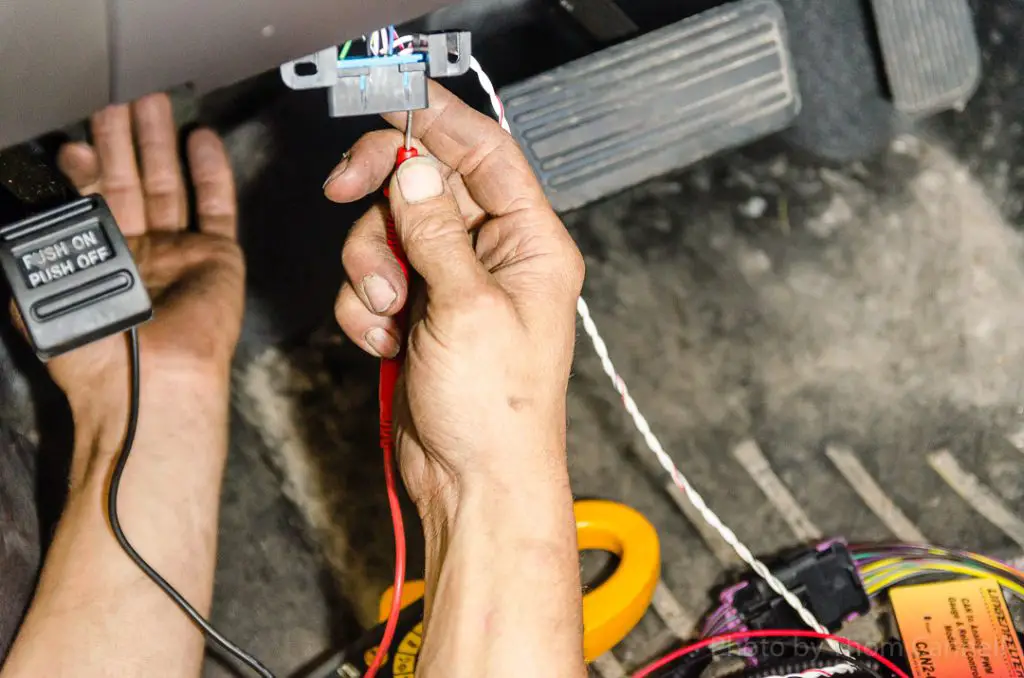
Once the CAN module’s wires are installed (not yet complete in photo), reinstall the 7 mm nuts and return the ALDL connector to its normal position. Note that the module is powered; the green light is on.
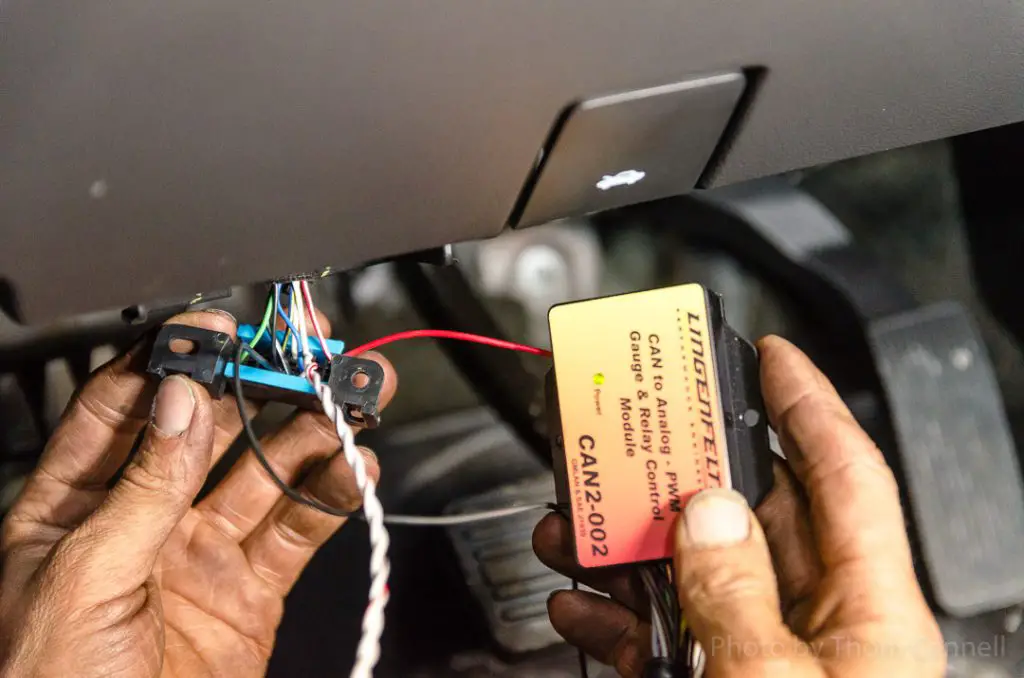
Next, find a good location to install the module itself. It can be zip tied, velcro’d, or bolted to any bracket you might have in your shop. Don’t go overboard, you may need to remove the module for reprogramming.
Once the module is installed, and it should be installed inside the cabin, you’ll route the gauge package wires to their intended home, be it the console—as we’ve done—or the instrument cluster which is an installation type we’ll show in a moment.
Lingenfelter’s CAN bus controller will drive up to four gauges, each with a signal, ground, and reference voltage, a total of 12 color coded wires.
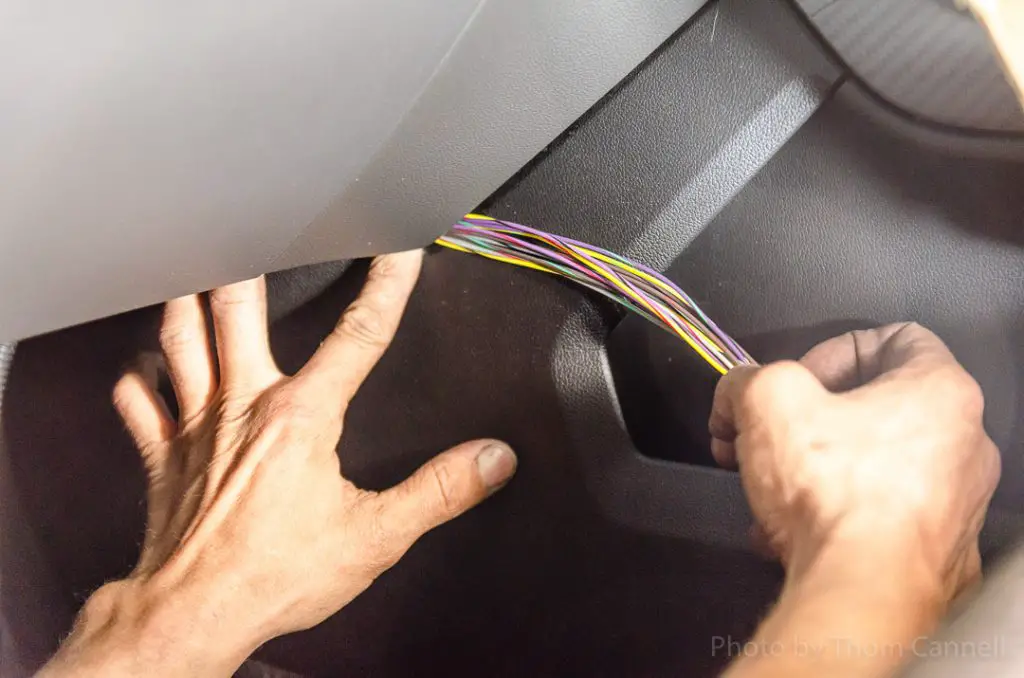
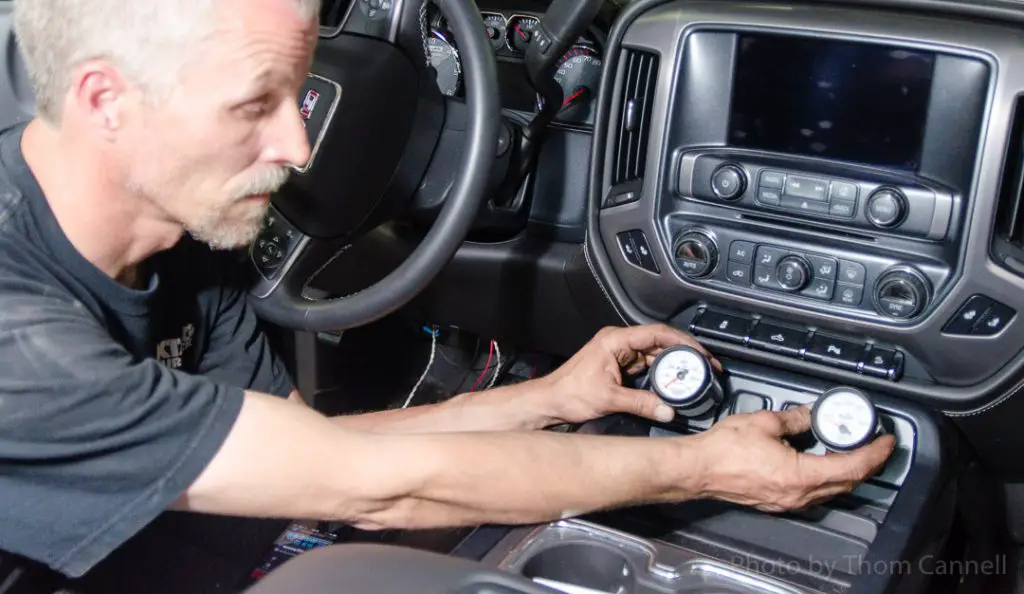
We’re running the wires behind the console, up to where GMC has conveniently offered two sites in the console between power outlets. The owner is also thinking of removing the power outlets and relocating them.
Daryl says, “Loom your harness according to your installation.”
Here we’re indicating final position, maybe. We’re still thinking on it.
If you’re wondering what a full-blown installation might look like, here’s Mike and Deb Copeland’s highly modified Jeep sand runner. It has a GM LS-A 6.2L that’s modified with a Kenny Bell supercharger. The lower end is rebuilt and strengthened to withstand running 11 PSI of boost—and it’s good for 20 PSI!
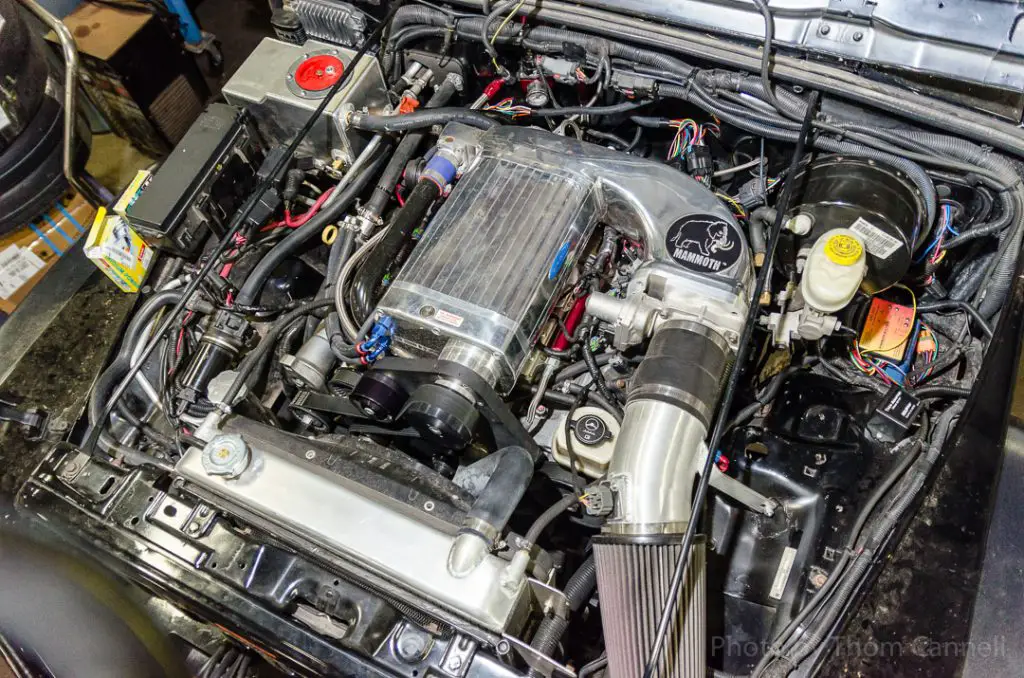
The Lingenfelter CAN2-002 bus kit is what made this full gauge package a clean and easy installation of a full Auto Meter analog gauge package. According to Daryl, “This kit is perfect for this kind of application when you have a high-speed CAN bus from an LS engine put into a modified vehicle. You can put in any gauge of your choice after the fact, gauges that you like and give you the look you want.”
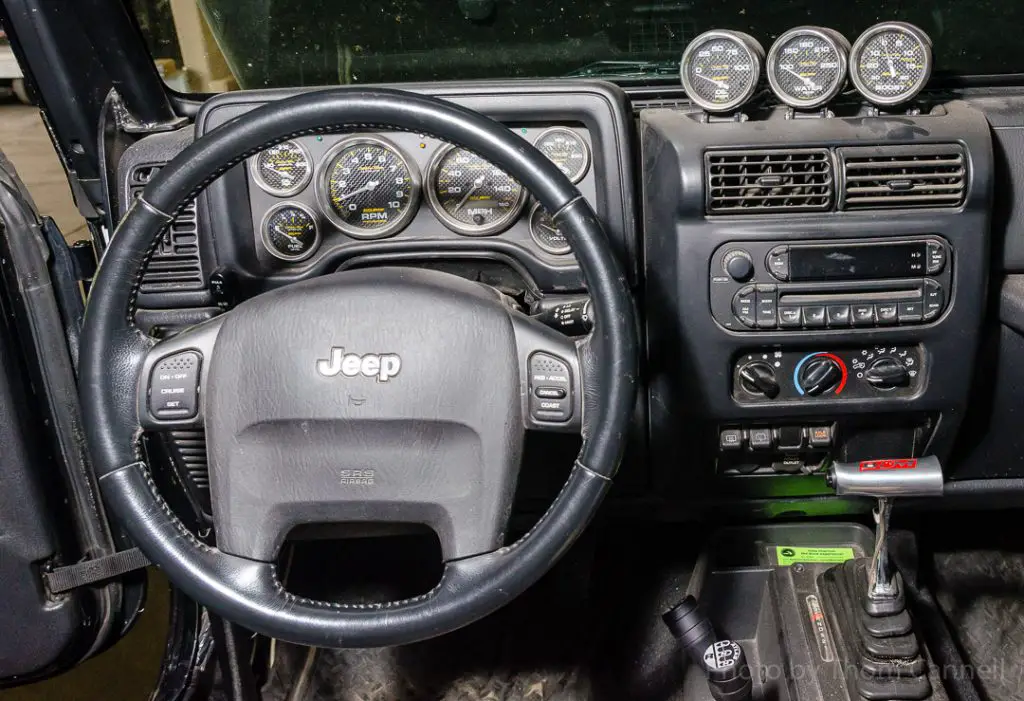
Daryl emphasized, “Take your time, route your wiring correctly and out of the way to get a good clean install.”
Lingenfelter CAN2-002 Bus installation by:
Diversified Creations, 7207 Grand River Ave, Brighton MI 48114 810-227-4777
Phone:(810) 227-4777
Email: [email protected]
diversifiedcreations.com
Brad Copeland, president and owner of the 2015 GMC
Installer, Daryl DeLaere, shop manager
https://www.lingenfelter.com/PROD.html?product_code=L460260704

